All of the screenshots in this section are taken from Maya CPU rendering at 3/2/2/2/2 with 5x clamping.
Making new textures
Using stills from the movie as a frame of reference, I listed the most important hero assets to create for the scene. This section showcases the attention to detail of the assets from the scenes in the movie, to their recreation in Maya.
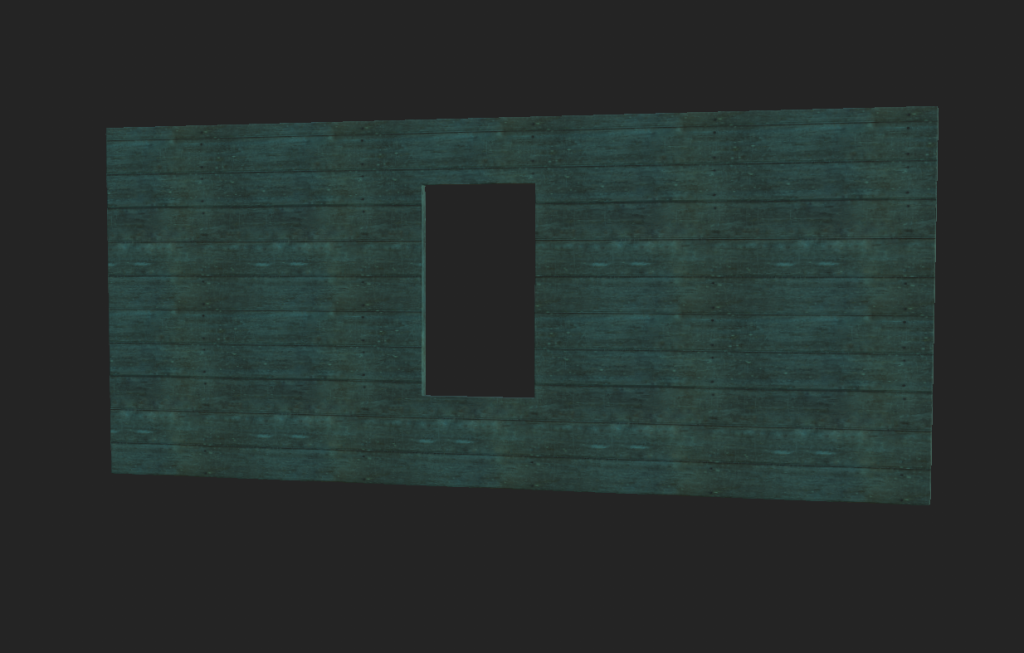
For the walls, floors and ceilings, Substance Painter’s inbuilt library was insufficient for the colours and range of tiling options for wooden planks. Polyhaven provided a great array of textures and subsequent maps to create new materials.
From here, using the reference imagery I was able to replicate the wooden tiles present on the walls and the floors with simple tiling and rotation. It made more sense from an animation standpoint to create a whole plane and add the textures of planks rather than to model the planks, texture them and add a few thousand more polys to the scene.
To create the material beneath, I had to find a wooden plank set of maps from Polyhaven and recolour the base layer in photoshop to emulate the aesthetic present in the movie.
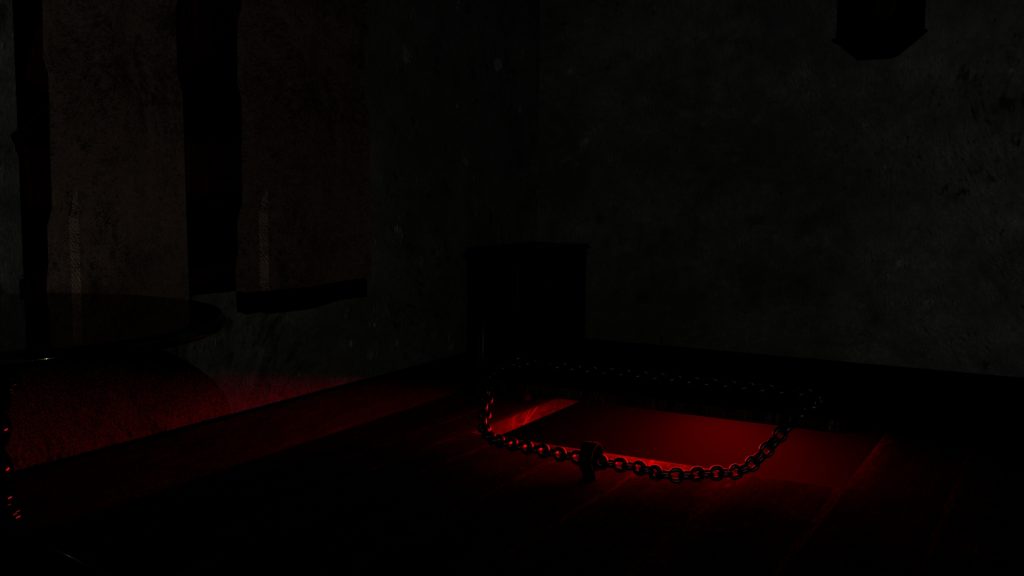
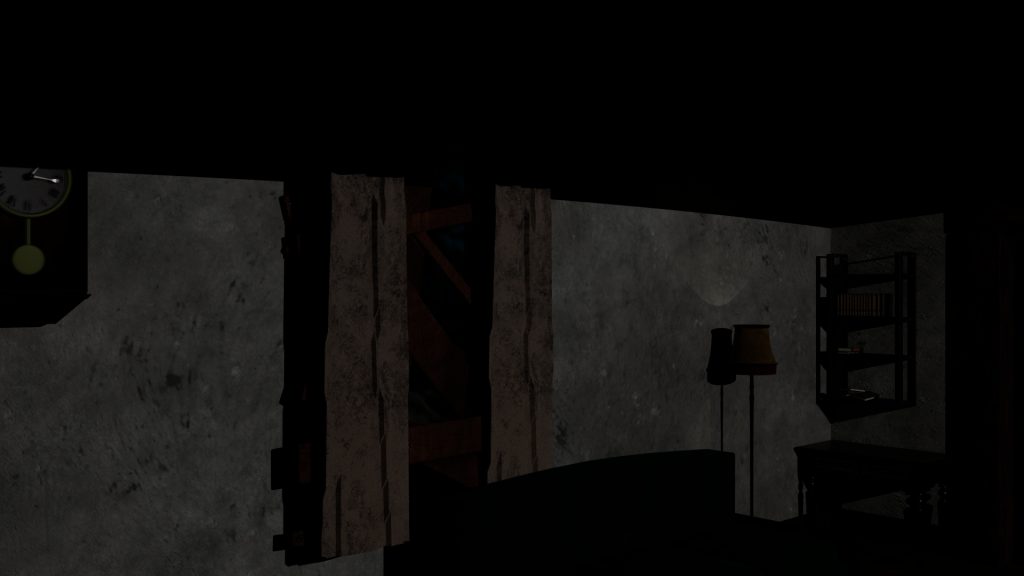
The chain
This was a difficult effect to create and took a lot of experimentation for it to work correctly. The final version of this was to run a NURBS curve through the loops atop the door and the anchor point on the floor. I modelled two links of chain that could repeat in a sequence with MASH networking and attached them to the NURBS curve. This broke several times during the pre-production phase and would either
- Unbind the chain and the curve would move.
- Change how the chain *should behave i.e. spread the links miles apart.
- Invert the controls when it was bound to the curve.
This process took a long time to refine as the inclusion of a MASH network forced many crashes upon Maya for unknown reasons. I tried to diagnose the issue and I think it may have been partially due to the V-Ram limitations created by so many 4k textures in the scene (over 250). After scaling back the resolution of the textures to 1000×1000 pixels, Maya generally ran a lot smoother, albeit with the occasional crash.
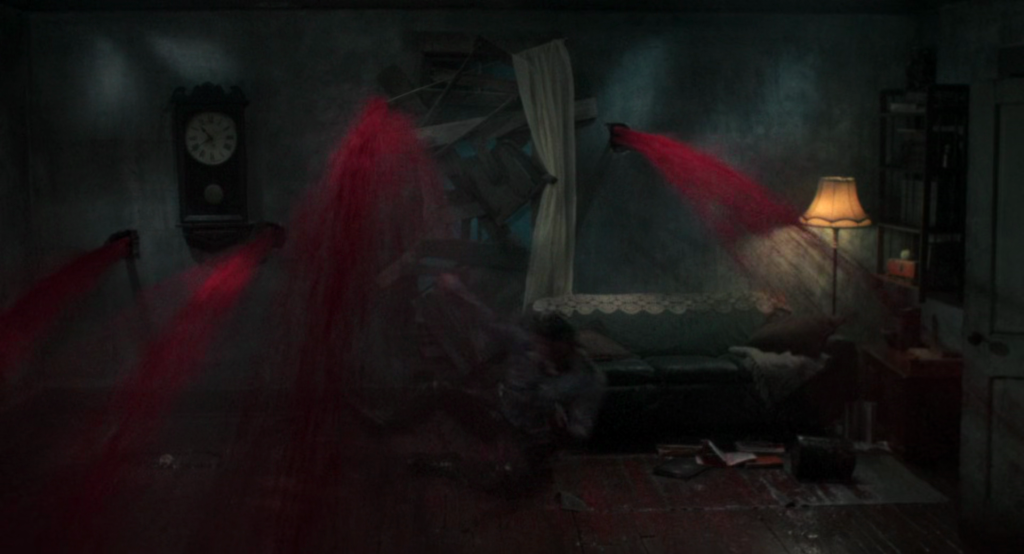
Blood Rising
The blood rising from the floor effect was incredibly important. In my personal opinion, the whole animation hinges on this as this elevates the experience from a ghost train to something far more horrifying. I followed a tutorial from the (Maya Learning Channel, 2018) and recoloured the AiStandardSuraface to a preset which is called BLOOD.
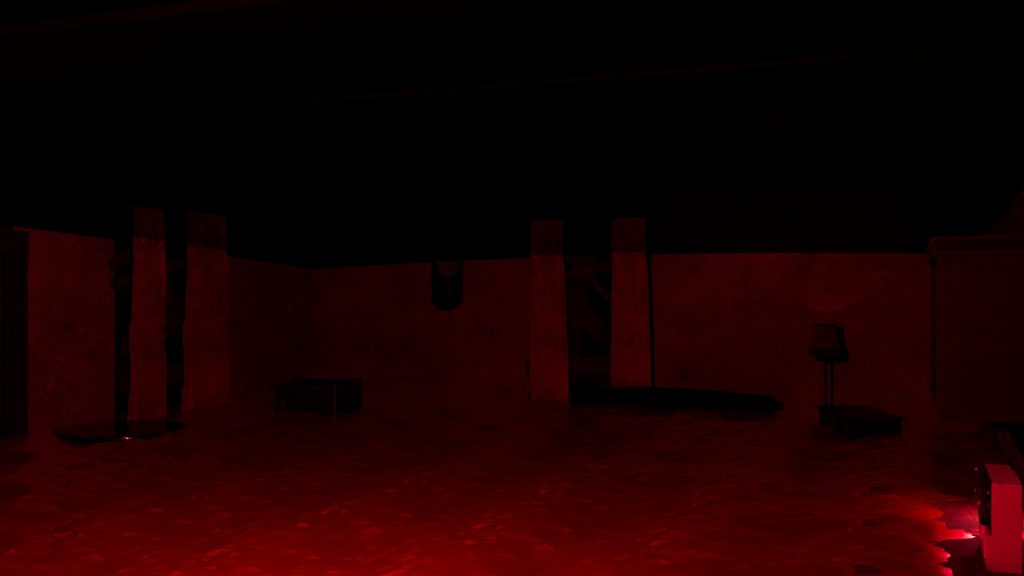
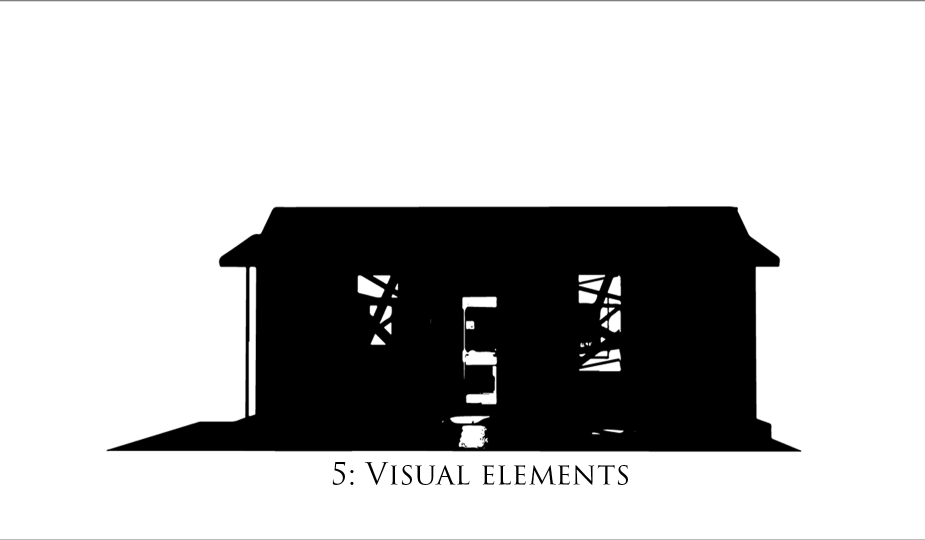
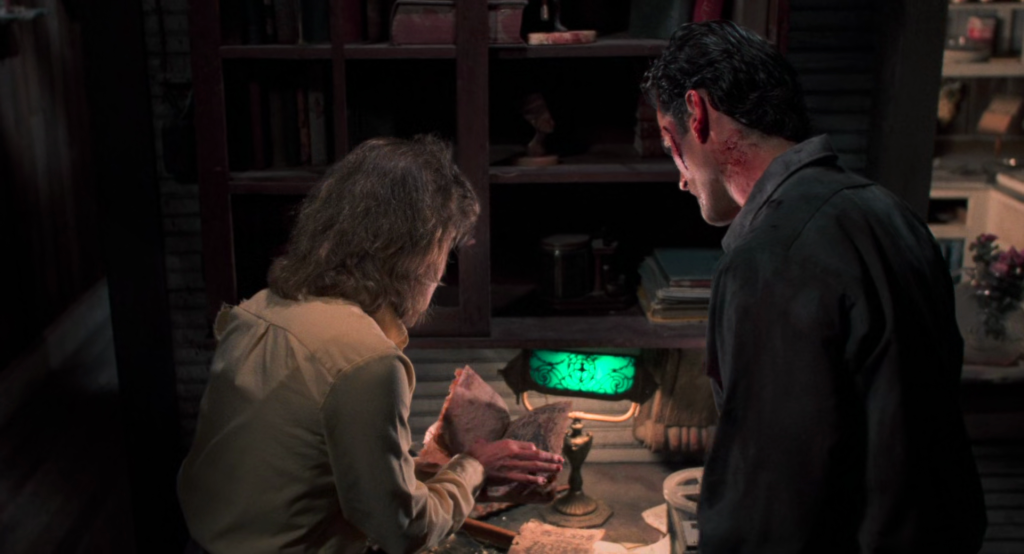
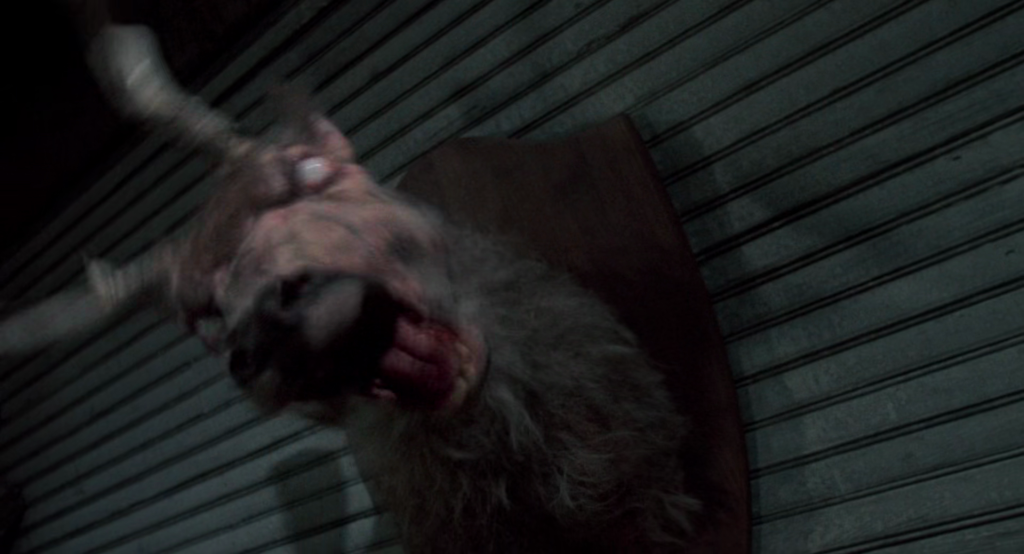
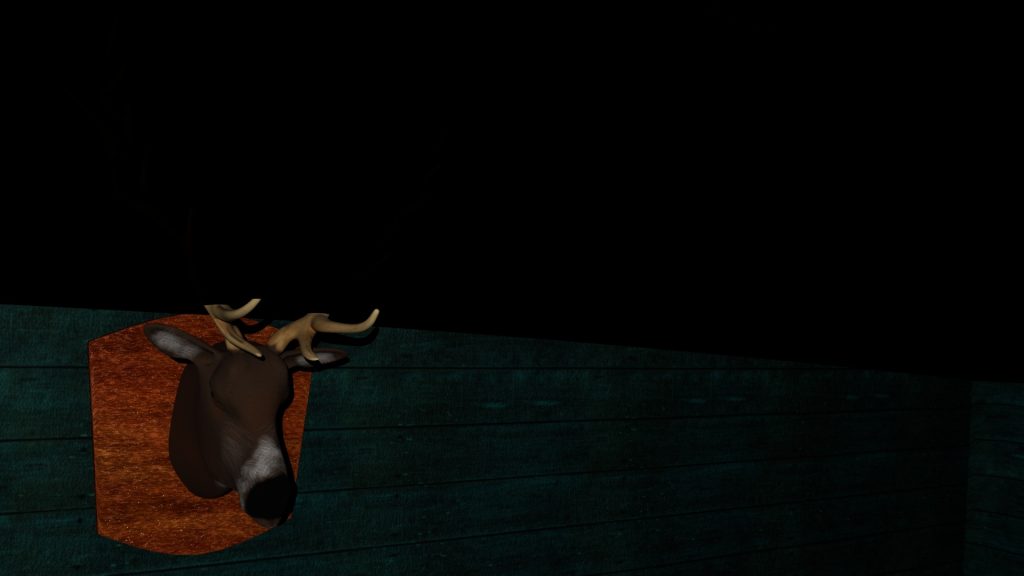
Compare and contrast
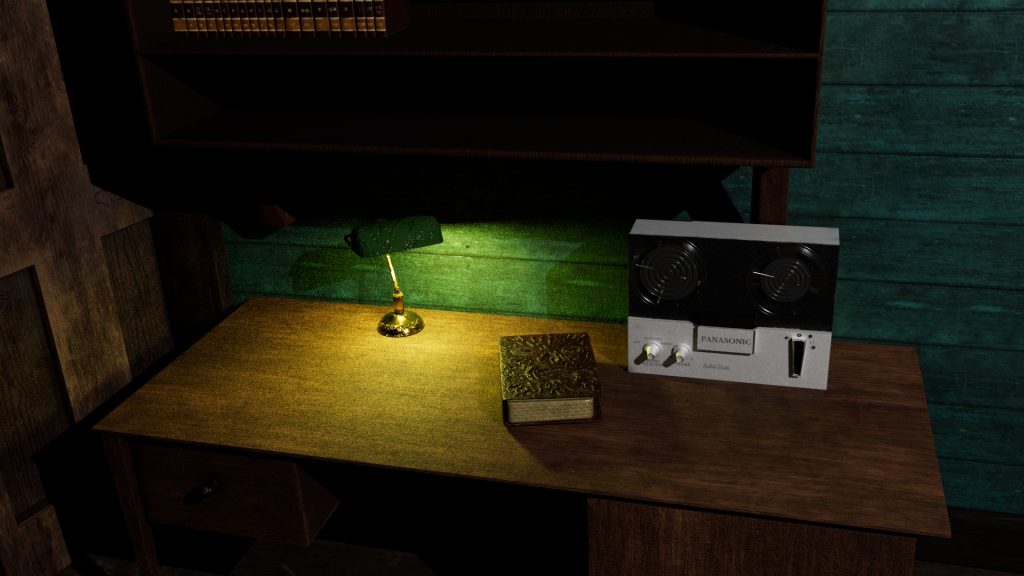

Lighting the scene
Lighting is a key factor in this animation as it works in tandem with the sound design to ensure the user knows where to look and when.

The main area light used is created from a spot light with the aperture and penumbra widened to light most of the space with several small directional lights providing some additional sources for the spaces that are out of bounds.
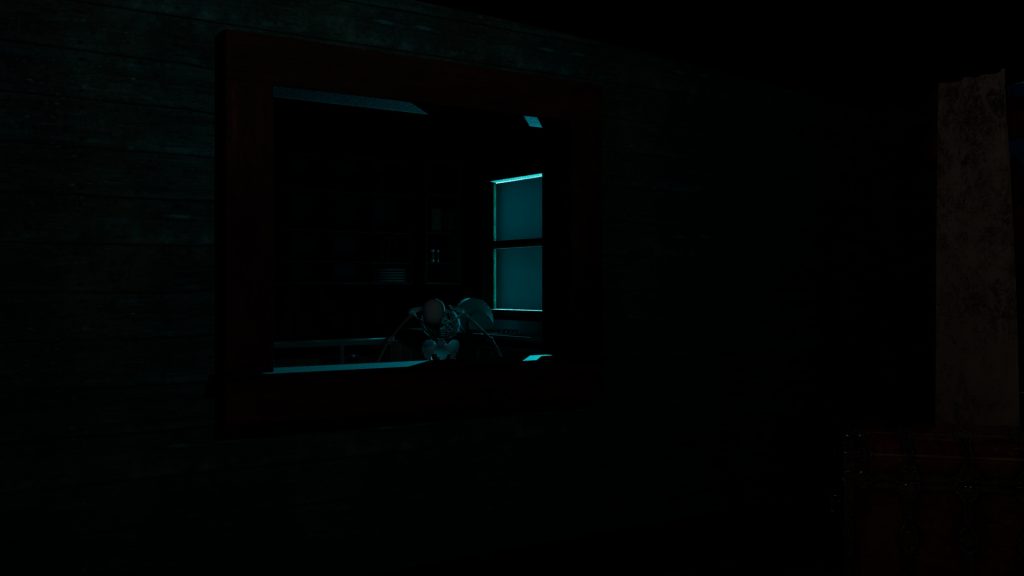
The lightning effect was created by using a spotlight and rapidly increasing and decreasing the luminosity value in tandem with the audio track lightning sounds. The angle of attack through the window was important, as the audience may be looking towards the opposite corner at the time and will illuminate the skeleton that is present in the kitchen, forcing them to spin on the spot and examine what may or not be there. The skeleton is keyed to appear at the apex of the lightning and drop out of view within two frames for a blink and you will miss it effect.
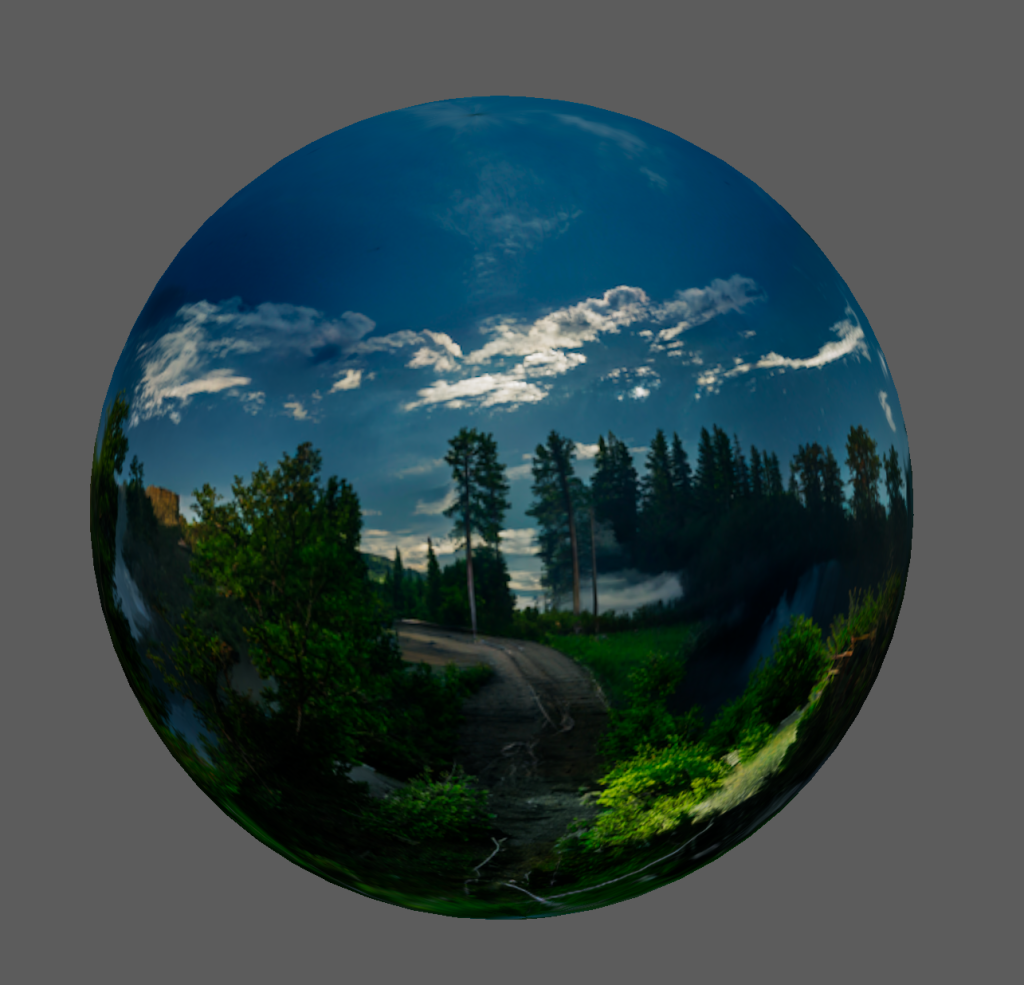
HDRI Creation
The exterior HDRI was created in Nvidia Canvas as it was recently updated to create 360 degree panorama images. This software is a free image creation tool that will make HDRI images with simple visual suggestions powered by AI, much like how a child would finger paint.
My first few attempts with the application rendered some elements on screen but it lacks finer controls for creating an image that stands up on its own without parts being obscured by on screen elements such as the interior walls of the scene. If I were to create an outdoor scene using this technology, much more time and consideration would be needed to create a coherent HDRI.