In this series of blog posts I will be exploring the processes of creating a rigged character for usage in Maya for animation. Firstly, we will take a look at the Skeleton and IK handles, followed by weight painting and blend shapes. I was unable to use the character I developed in the last module as the poly count was far too high for such a poor character and through testing the models viability for this project, I realised there were too many flaws in the mesh and I was unable to fix Cassian in a timely manner. I attempted to use the Jerry model but had used MaxforMaya for my final animations.
RIGGING AND IK HANDLES
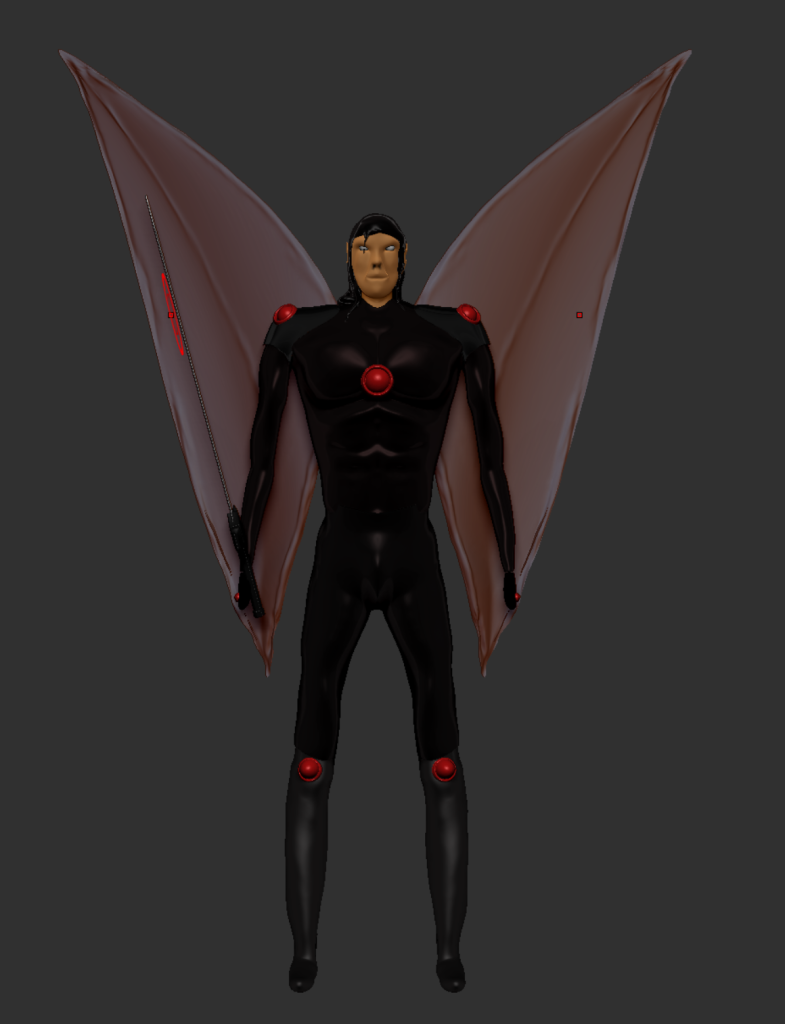
Rigging the skeleton and creating the IK handles was more straightforward than the rest of the animation process. It was a little frustrating initially as it is so important to remember how the hierarchies behave.
I followed the tutorials posted on Canvas to build the skeleton and I was grateful it was emphasised so much that everything needs to be zeroed and not moved once in place. This helped me to prevent several issues down the line.
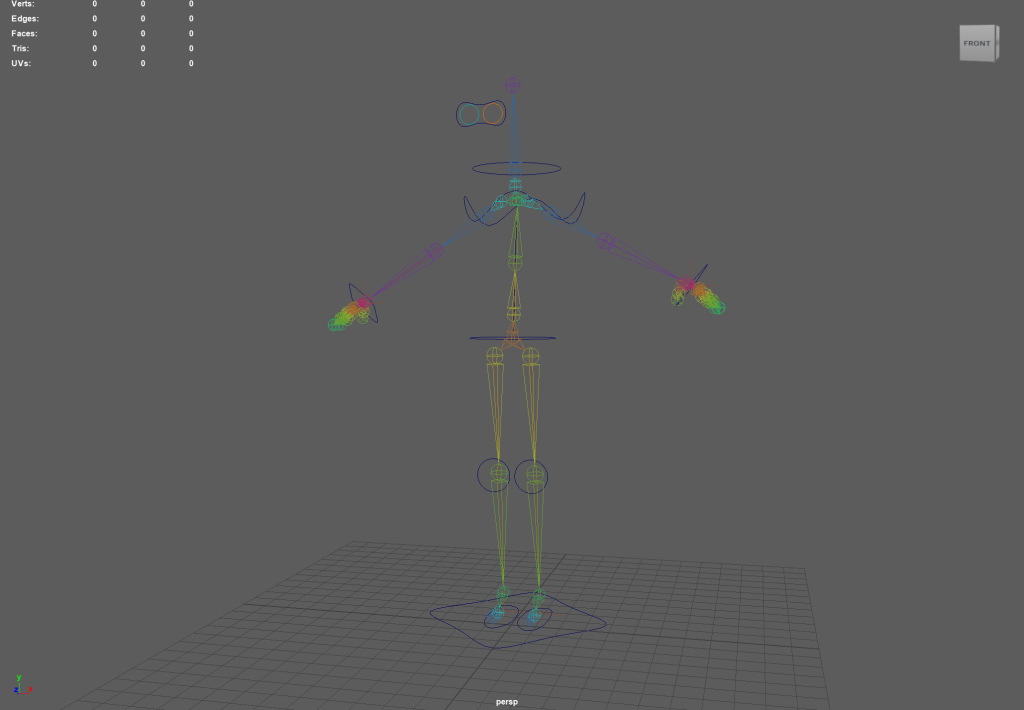
In a future animation project I will ensure I create a lot more control points as these seem to hold a lot of power in the animation suite. The rig I created is quite basic and only has minor controls for the neck, shoulders, wrists, knees and feet. I would like to create a fully formed rig that would allow for additional controls over the mouth movement and a greater range of motions in the arms, but I understand this might conflict with how the hierarchy works with the wrist controls.
WEIGHT PAINTING
One of the main issues I encountered when modifying the model for weight painting was not taking into account the vertices hidden within the clothing. To fix this problem, I isolated the head component with CTRL 1 to show only the head and flooded the base of the neck with a zero value to rectify this problem.

Head component 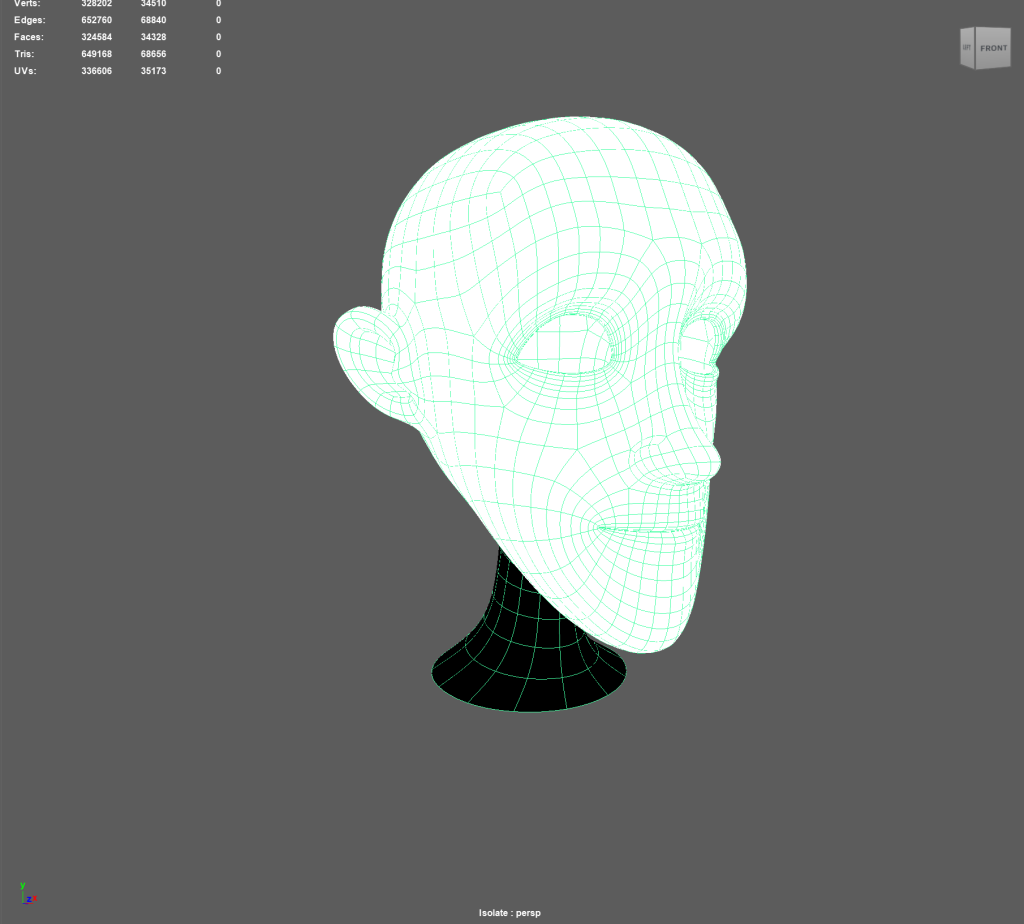
Flooding the head
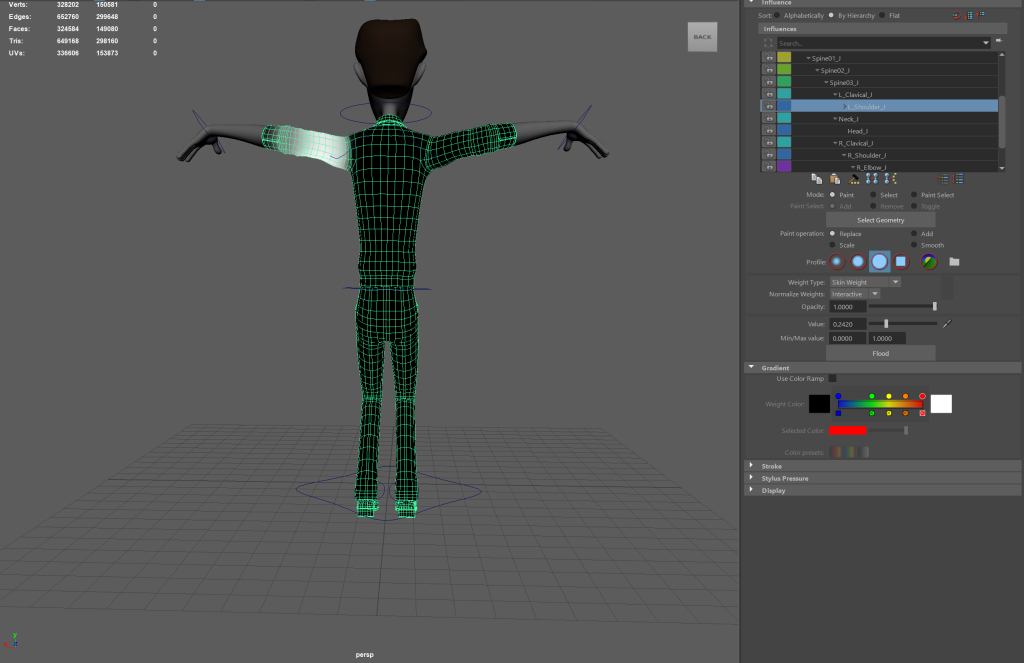
After I finished balancing out the left arm joints so they did not deform his back I attempted to replicate the results on the right hand side by duplicating the values. This initially resulted in this error code appearing at the bottom of my screen.

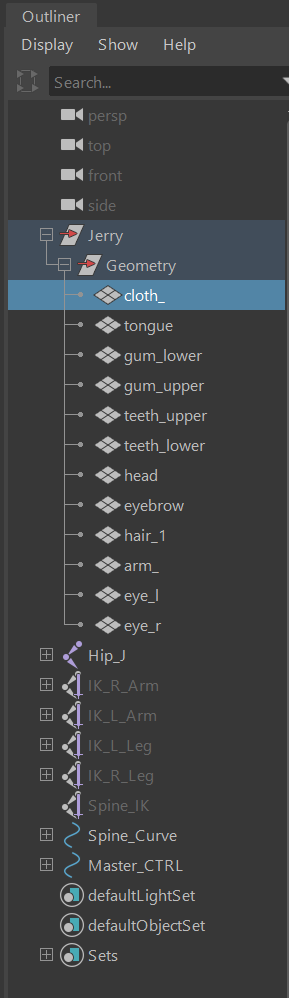
As the Jerry model is composed of multiple parts, I initially did not realise that I would need to highlight the specific component within the outliner to be able to duplicate it as the tutorials on Canvas have a model that is a singular mesh. This issue has made it more difficult for me to understand which parts of his mesh affect certain pieces.
WEIGHT PAINTING ISSUES
The more I tried to weight paint the model, the more it became clear to me just how much influence every component had on one another. The issues I ran into when trying to figure out which parts of the body caused the most deformations. When I compressed the model to a crouching position using the waist handle the backs of the legs would buckle slightly.

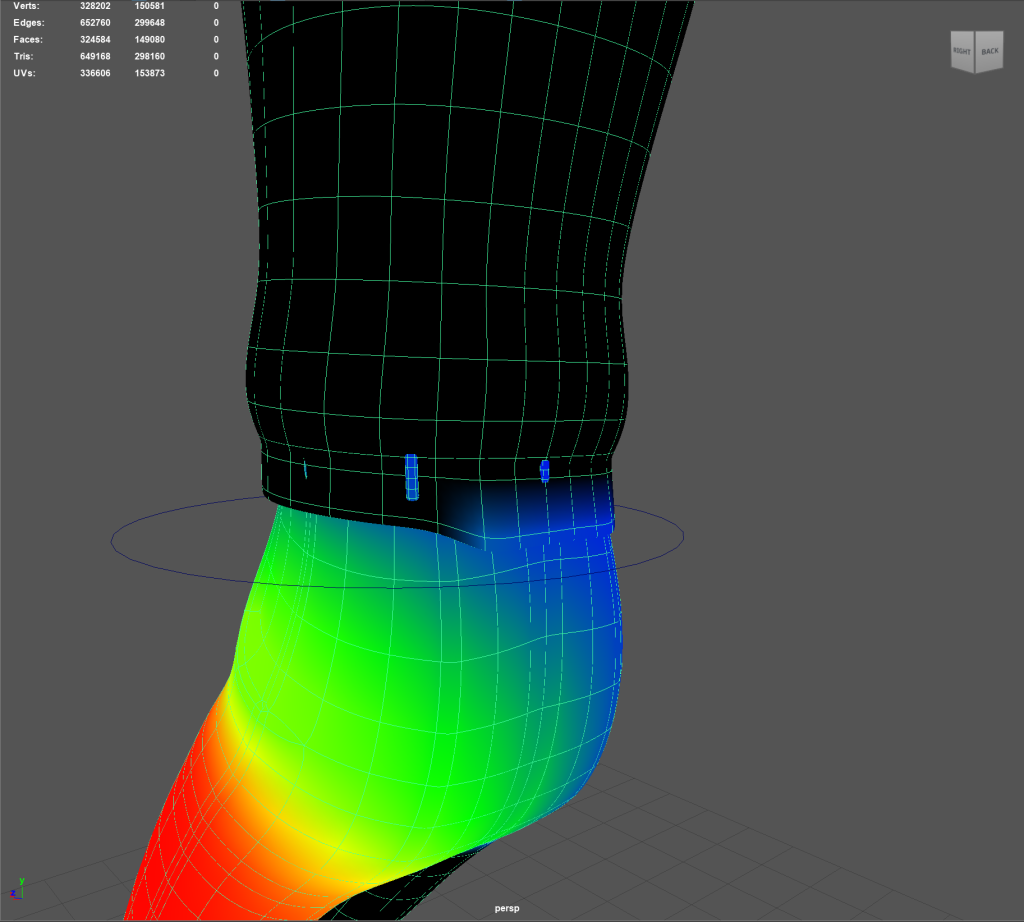
The colour ramp function proved to be helpful at this stage as without it the difference in tone between the black and white was not as obvious as it should otherwise have been. While exploring the joints and seeing which had the largest impact. For the lower half of the body it appeared that the general joint for the legs impacted around 50 percent of the model up to roughly just below the ribcage area and as far as mid shin bone.
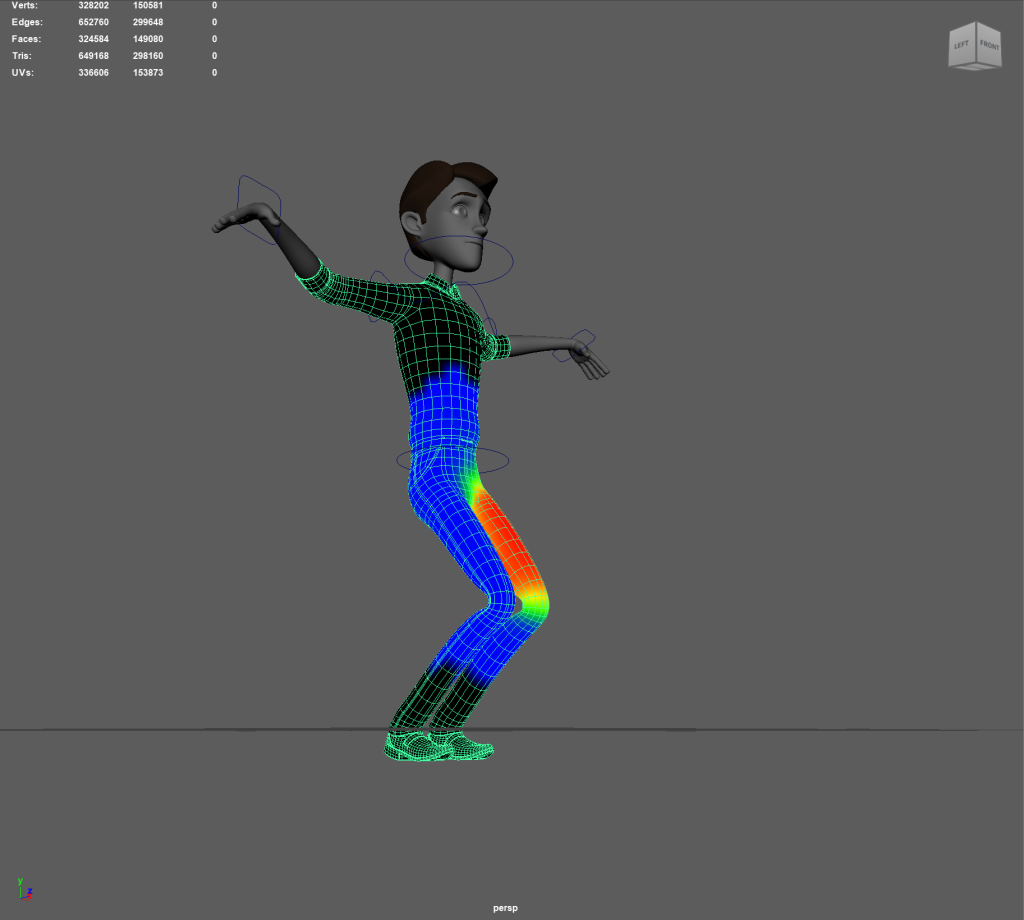
By moving the model to the most extreme (while still realistic) poses it helped me to discern where needed the most attention in weight painting.
I tried to remove all weight on the torso area from been impacted by the influence of the left leg but this caused parts of the mesh to push through from the within itself, this helped me to understand that the answer isn’t to simply black out a whole area and allow some weight to be distributed higher than i would have originally assumed.
After some experimentation I tried copying the values from my left leg joint and my left knee to the right as the right leg was contributing to the left. This made it easier for me to manipulate the two into cooperating more with me while painting.
TESTING THE LIMITS OF THE MODEL
I tested multiple poses to try and eliminate the legs affecting one another, I eventually flooded the bottom of the left leg as the right moves as it caused a weird pulling on the model. I am not entirely sure why the two legs have such a strong influence on one another.
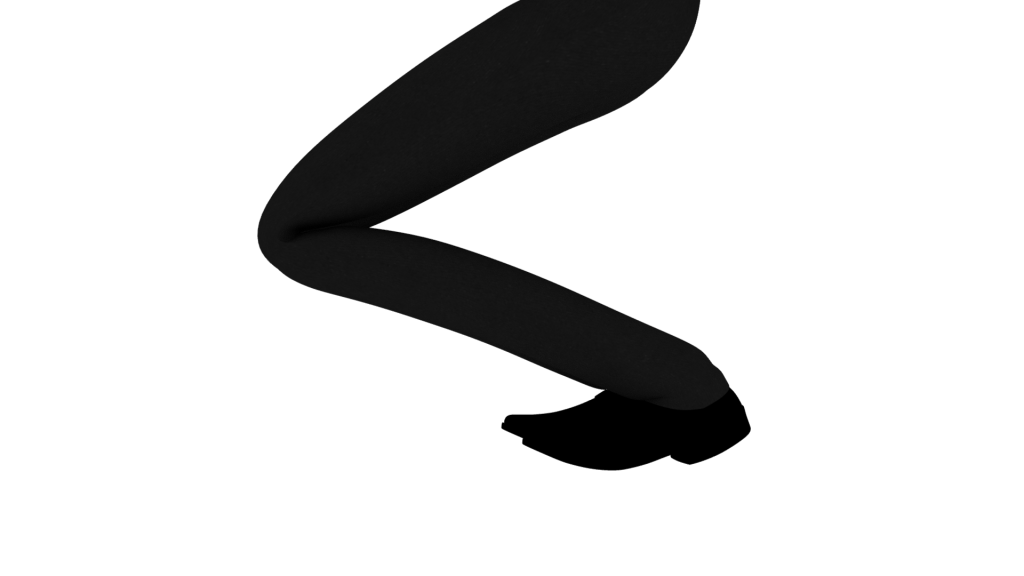
The next issue I ran into when pushing the model into more extreme poses was how the back of the shoe would deform. I fixed this by flooding the whole shoe with white to try and alleviate the deforming when moving the foot controlling around.
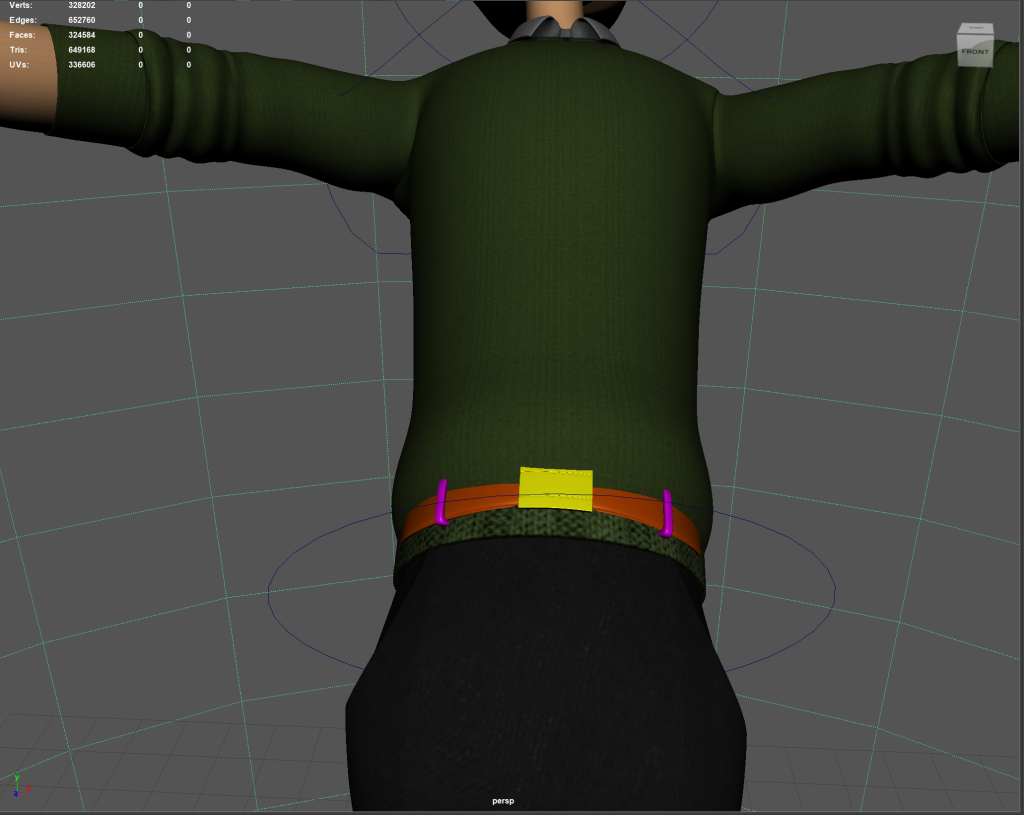
For some reason on the inside of the model I discovered that they had modelled and textured a belt, which would appear when I twisted the body to see if any polygons would jut out from the waistline area between the jeans and jumper. I cannot understand why this model would have this but it caused another issue for me to try and fix with weight painting. I resolved this issue by finding the lamberts and blinns that would pop through and increasing their transparency slider all the way to maximum in the texture editor menu.
EYE CONTROLLERS
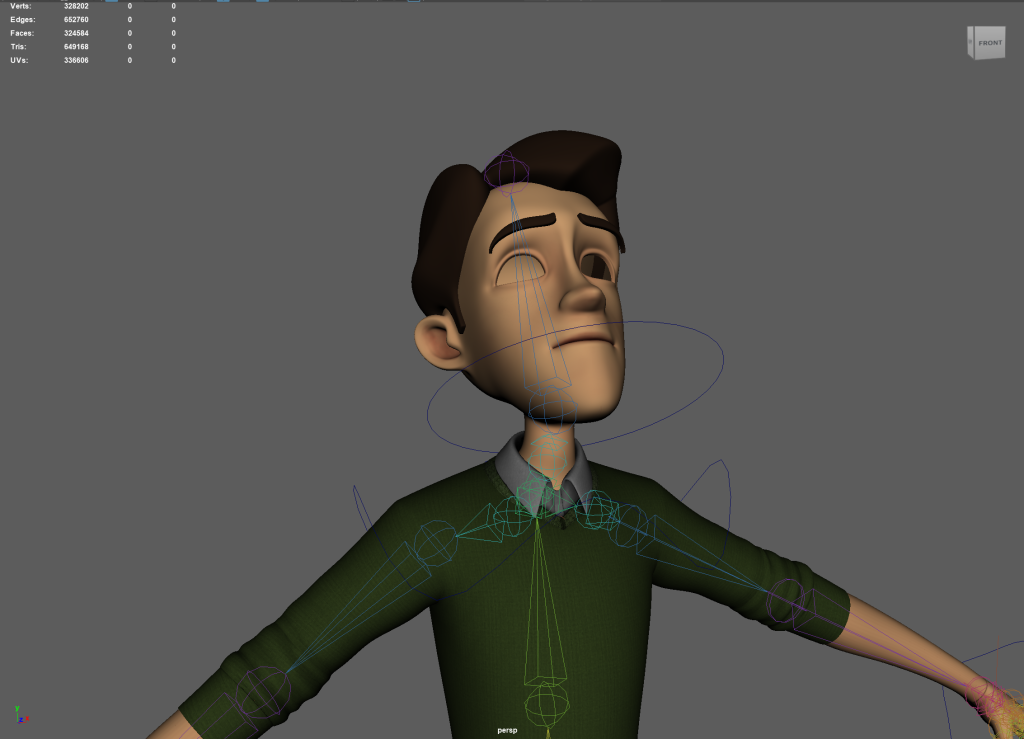
I set up the eye controllers using NERB curves and placing them in the Z Axis View. I noticed at this point my model was slightly off centre so I had to manually adjust them to be in line with the eyes.
In the canvas video it was mentioned that he was using an unrigged version of the Jerry model and the eye controllers when built would need to be parented to the Neck controller made much earlier on. I was impressed to see how his eyes would follow the controller and tried to til the neck to see if it would follow. Unfortunately this created an issue I hope the next section fixes as Jerry’s eyes would disappear into his mouth if they went too far from the general eye level.
BLEND SHAPES
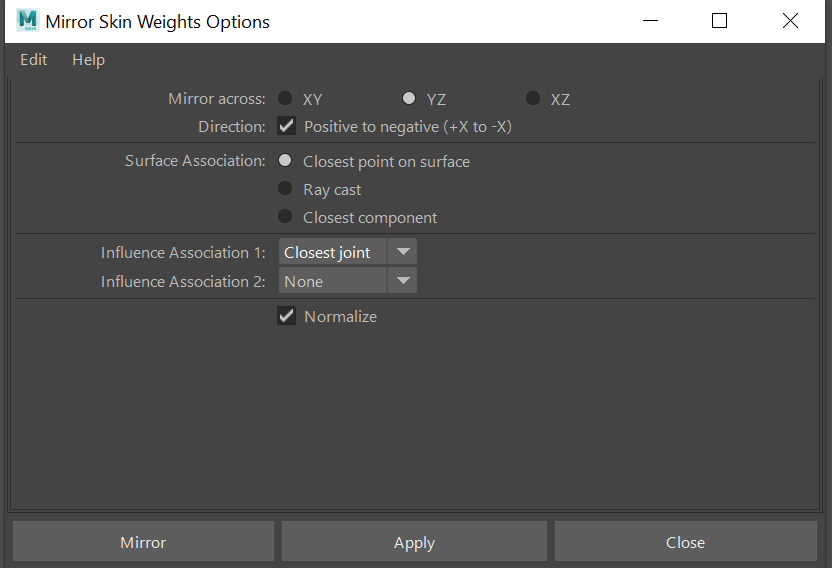
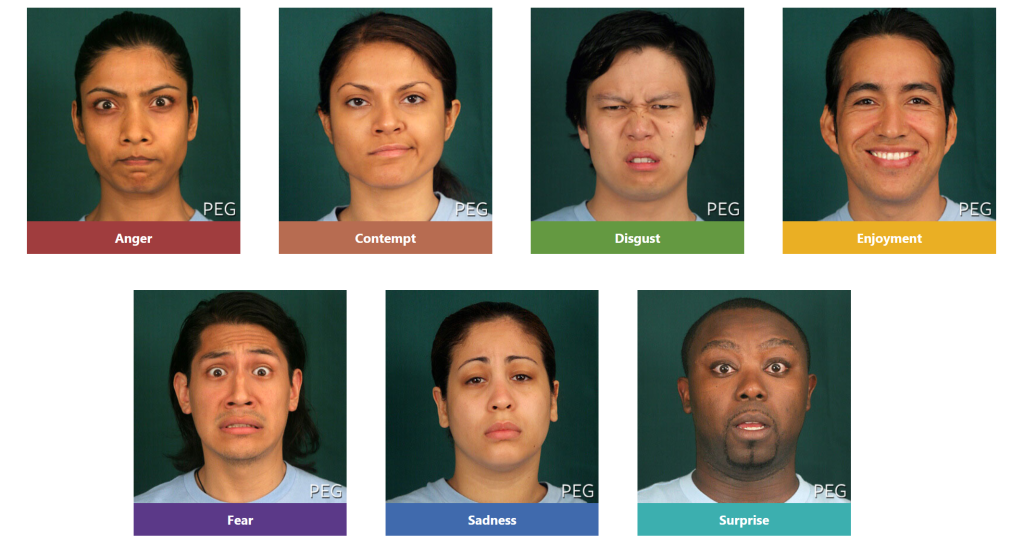
I attempted to use the blend shapes tool to create a wide variety of expressions based on Eckmans group of seven universal emotions for a wide gamut of expressions. However as my model became unccentred during the development of this piece the vertex manipulation wouldn’t mirror on the X axis correctly. By unbinding the head from the model, it allowed me to properly mirror but when rebound to the rest of the mesh the eyes and mouth components would behave erratically. This potentially was because any prior weight painting on the model was no longer valid and created a host of new complications to work through.
USING A PRE RIGGED MODEL
Due to the number of issues i have encountered with the rigging process i have to revert to using a given model. I feel i have learned a lot of the processes to develop a character of my own but due to time constraints i am unable to use a character i have rigged myself for my final animation pieces. I hope to rectify this in the future with other animations.
PRINCIPLES OF ANIMATION I WISH TO USE
In my animations I want to utilise several of the key principles above others. I don’t feel as if squash and stretch will be used to a great extent as the animations I have in mind are somewhat more grounded in their designs.
Anticipation will be used in the lip synching piece the most, I want to draw the audience’s eye with the characters right hand so they have a natural path to follow with their attention. Straight ahead and pose to pose will be used to help heighten the sense of flow in the characters motion as I don’t want to have stiff movements.
I can use slow in and out to have the character descend to the floor while gesturing wildly and rebalancing himself at the apex of his stance. I feel as if the dialogue i have chosen from It’s Always Sunny in Philadelphia will lend itself well to both exaggeration and timing, as the character descends into a rant rather quickly and his cadence increases rapidly throughout the piece.
I hope that these animations convey character by using these principles to their fullest effects.
BIBLIOGRAPHY
Eckman, P., 2021. Universal emotions. Paul Ekman Group. Available at: https://www.paulekman.com/universal-emotions/ [Accessed July 29, 2022].