MAKING VIDEO REFERENCES
I created two short videos of myself walking and running to base my animation cycles off. As I used the footage in Maya it became hard to understand where the cycles should loop. It came across better in the walk animation due to the practice we had early in the module. Trying to animate the sprint was much harder as I tried to get enough distance from the lens as I ran. But it was hard to scale as a reference piece and the timings of each were difficult to interpret as I am significantly wider than the model I am working with so it made positioning of my arms tricky.

ANIMATING DIALOGUE
I wanted to base the bulk of my animated piece on a short clip from It’s Always Sunny in Philadelphia Season 10 Episode 6 to practice lip synching. The scene revolves around the character Dennis losing his temper at a man who is trying to purchase the car for his daughter, while implying the vehicle for sale is slow and would not be for himself.
When I heard the audio from the scene in isolation from the visual track, I thought it could lend itself very well to the animated form due to the intense vocal performance and energy radiated by Dennis. I recorded myself with the audio in the background to provide a template for myself to try and match the potential energy an animated version of this character could have.
USING MAX FOR MAYA
The model I used has a fantastic amount of control baked in. My initial experimentations with the sliders helped me to block out in my head what kind of facial expressions he would be able to convey. The mouth slider allowed for me to roughly provide lip syncing for the model.
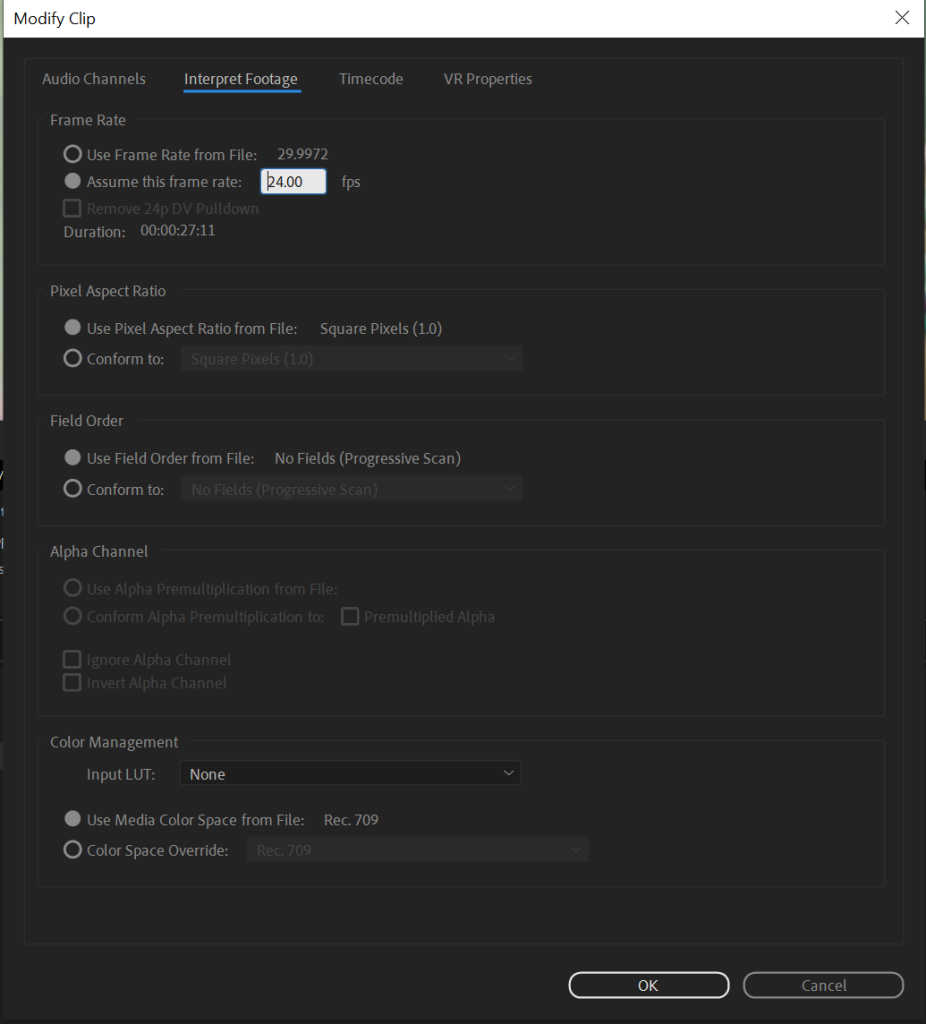
The first method I used to try and figure this out was through writing down the text verbatim and breaking multisyllabic words into component pieces. Such as ““Like the crashing of a thousand waves!” became “like the cra shing of a thous and waves”. I imported the audio track to the time slider as video import refused to work. I overcame this issue by using Premiere to export the clip into single frames, which initially did not work as the general export for this method renders frames at 25fps as opposed to the 24fps i animated at.
LIP SYNC AND TIMING
The image plane function helped me to set the mouth at different levels for lip synching as I could observe Dennis’s mouth position and shape on a per frame basis for a relatively tight lip sync. I tried to avoid opening the mouth the whole way and conforming roughly to mouth shapes. Even with so little dialogue in this scene it was still a time consuming process to ensure that the key frames fell at the right points using the mouth slider.

From here I deviated from my original plan slightly as I realised I could make a far more cartoonish visual style than my acting was ever able to convey. I stuck to it roughly as a frame of reference but I really wanted to get a crouch in to place emphasis on the waves line.

This rig was very flexible with how I could contort it and add additional keyframes in as this was a late addition after the rest was completed. This did make his left arm drift more than I would have liked but I pushed the camera’s focus towards the right of him which was more articulated in the final animation.
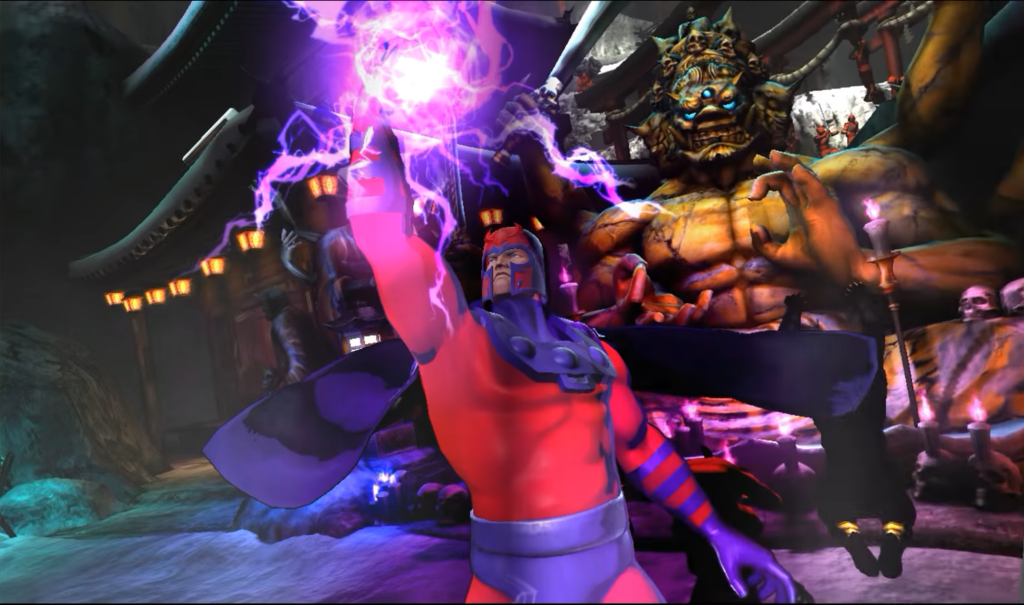
I used Magneto’s victory pose animation from Ultimate Marvel vs Capcom 3 (Capcom, 2011) as a point of inspiration within my main render. As the line “The golden god” is delivered i wanted to strike a visual similarity as i wanted the emphasise the cartoony nature of this piece going from such a strong static pose with the camera high in the air, to a tight low down shot of a temper tantrum in full swing, complete with fists vibrating impotently by his side.
USING THE PRINCIPLES
Towards the end I made the eyes pinhole to show how unhinged he had become and to place deliberate blinks into the scene. Most of them occur before and after the outburst with only minor twitches on the lower eyelid in the middle of the piece to add more erratic behaviour. I tried to make the posture adapt as the anger crescendos going from an incredulous stance to begin with to full contortions of his body before the rage subsides and he glances left and right in a very exaggerated manner. This follows the visual reference of the scene rather closely as I tried to emulate the body language displayed.

This animated piece demonstrates a number of the key principles of animation through the gestures and camera motion. Through control of the camera I can manipulate the audience to follow his right hand which is the most expressive point after the face for staging’s sake.
I tried to apply follow through within the piece as when he crouches his hand flutters a little as his centre of gravity is off balance and he wavers slightly, while retaining the cartoony aesthetic. This lends itself nicely towards slow in slow out as he descends quickly and rises from this pose slowly initially before reaching the apex of his arc to deliver the line in a dramatic manner. With more time I could have implemented more secondary actions within the piece but time constraints could not allow for this.
CONCLUSION
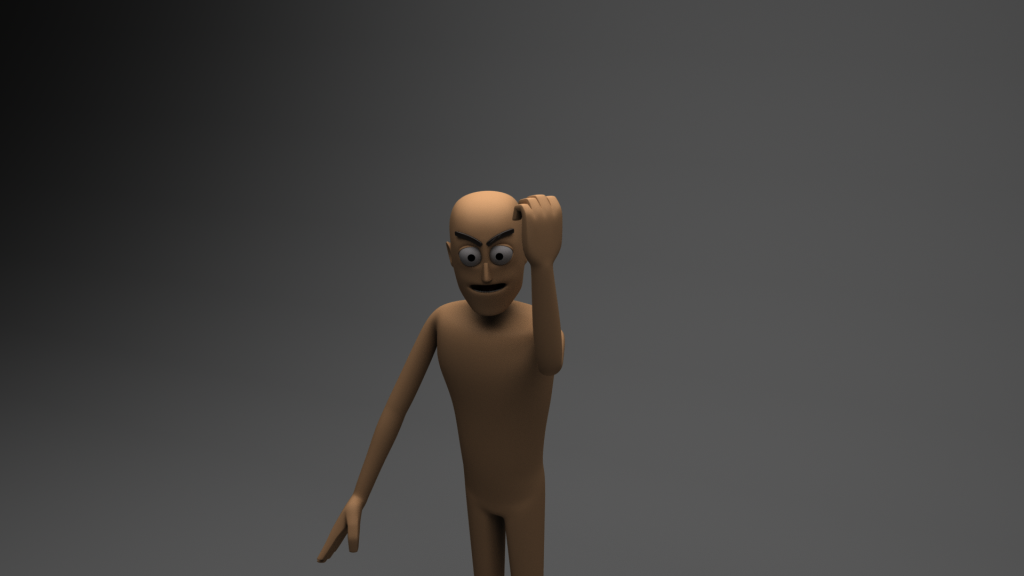
I found this module to be rather difficult in places as the materials on Canvas did not always feel relevant to what I was trying to accomplish with this task. For example while weight painting the model used in the videos was a single mesh object and Jerry is composed of ten pieces. So when the head was rotated backwards and forwards the hair, eyes and mouth section would occasionally clip through the model.
I frequently ran into problems with Maya itself through the skinning, weighting and joint process and I hope that I can learn how to do these tasks better in the future. It feels as if you make a mistake early on and it can come back to bite you quite severely down the line. I will attempt to rig Jerry again from scratch to apply what I have learned through this module in the subsequent weeks to see if I could use him on the same level as the Max model.
The actual animation stage of this project was the most interesting to me and when using a fully rigged model I was able to better appreciate how static some motions could be and how every small keyframe can impact the animation on a larger scale. I will be experimenting a lot more with the toolset to hopefully develop my skills further and to create something of a higher quality than this submission.
Bibliography :
Capcom, 2011. Ultimate Marvel vs Capcom 3,
Eckman, P., 2021. Universal emotions. Paul Ekman Group. Available at: https://www.paulekman.com/universal-emotions/ [Accessed July 29, 2022].
FX, Its Always Sunny In Philidelphia. , 10(6).